WooCommerce
WooCommerce is fully integrated with the WordPress REST API.
Connect to Woocommerce
1. Go to the Resources page and click the  button.
2. Select Woocommerce.
3. Enter your account credentials and click Connect. Please refer to the instructions provided here to obtain the required credentials.
Resource Name: Enter a name to identify your Woocommerce resource.
Basic URL: Provide the base URL of your Woocommerce store.
Customer Key: Enter your Woocommerce API customer key.
Customer Secret: Enter your Woocommerce API customer secret.
4. Select the tables you want to import. If there are any additional required forms or fields, make sure to provide the necessary information to proceed.
5. Click the Test button to validate the connection and preview the connected data.
6. Click Create Resource to finalize the setup. You will be automatically redirected to the resource page, where you can find your newly connected resource displayed at the top.
How to get Woocommerce Api Key
Generating API keys in the WordPress admin interface
To create or manage API keys for a specific WordPress user, follow these steps:
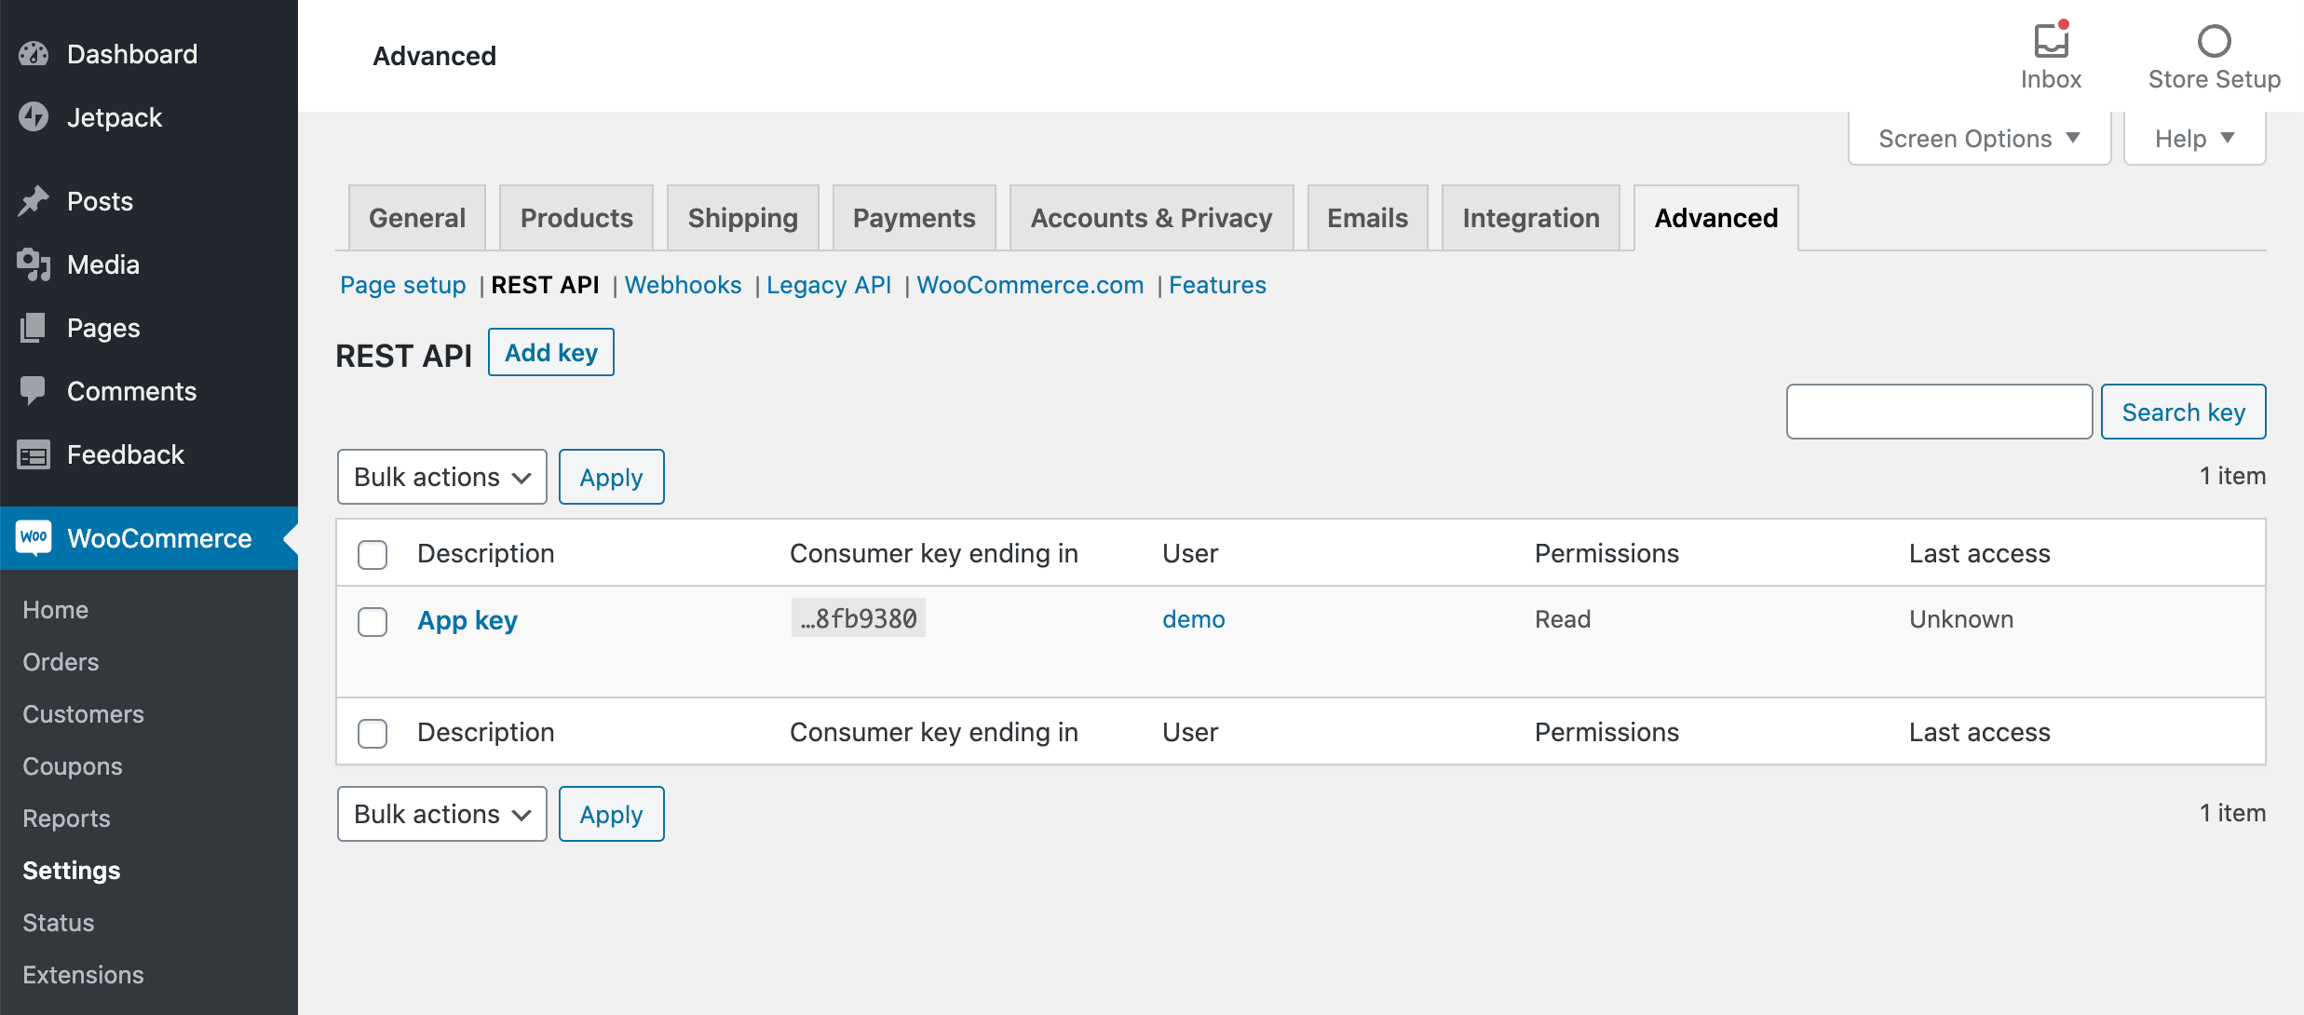
Go to WooCommerce > Settings > Advanced > REST API.
(Note: Prior to WooCommerce 3.4, you could find Keys/Apps at WooCommerce > Settings > API > Key/Apps.)
In the WooCommerce REST API keys settings, click the "Add Key" button.
On the next screen, provide a description for the key and select the WordPress user for whom you want to generate the key. The usage of the REST API with these generated keys will be based on the selected user's WordPress roles and capabilities.
Choose the level of access for this REST API key. You can select Read access, Write access, or Read/Write access based on your requirements.
Click the "Generate API Key" button, and WooCommerce will generate the REST API keys for the selected user.

For details, please refer to Woocommerce documentation.
Supported table
Last updated
Was this helpful?

